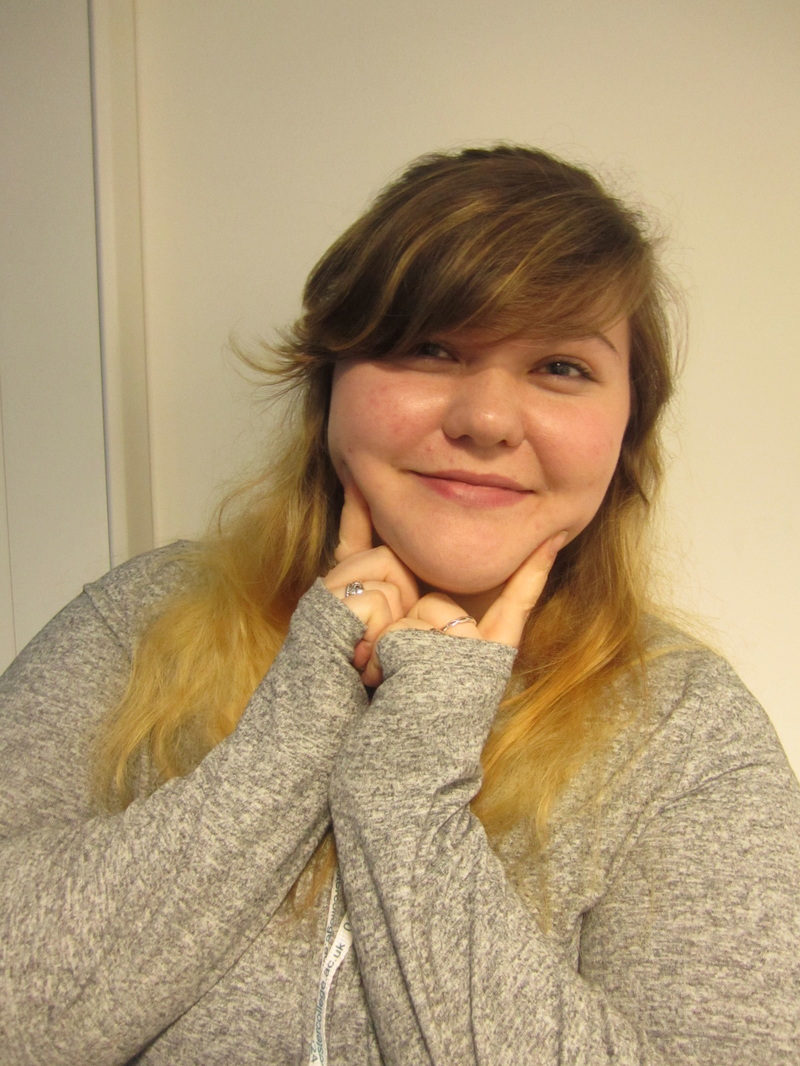
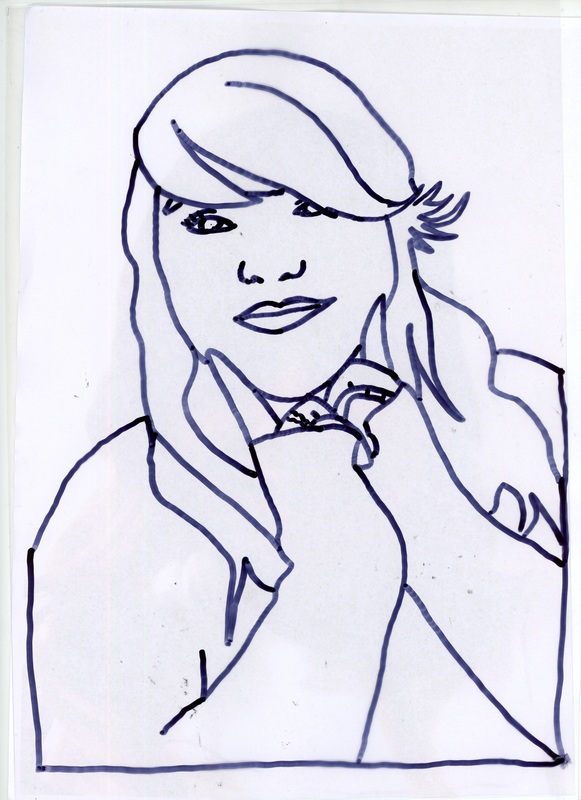
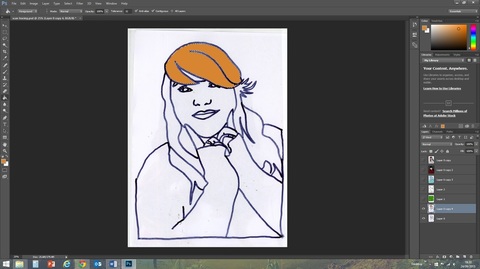
In this session I took another photo of myself. I then printed out this photo and with a sheet of acetate and with a fine liner, I traced the image; making sure that there were no gaps between any of the lines. After this I scanned the acetate sheet to the college's shared server. From there I placed it into Photoshop ready to begin working on the image.
With this traced image I first unlocked the background to make it a layer. I then duplicated this layer and worked on the duplicate to manipulate the image. For this task I mainly used the Magic Wand and Paint Bucket tools.
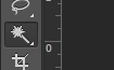 | 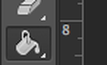 |
With the Magic Wand tool, I could select areas of my portrait and then use the Paint Bucket to fill these areas with solid colours.
 |  |
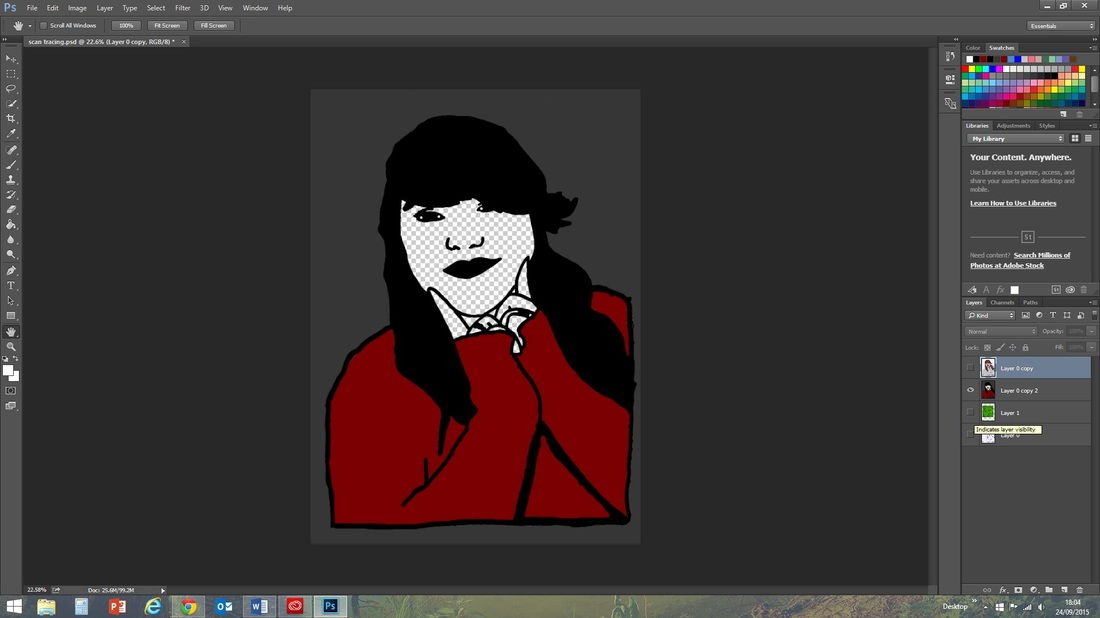
With this, I began to experiment creating several layers of portraits.
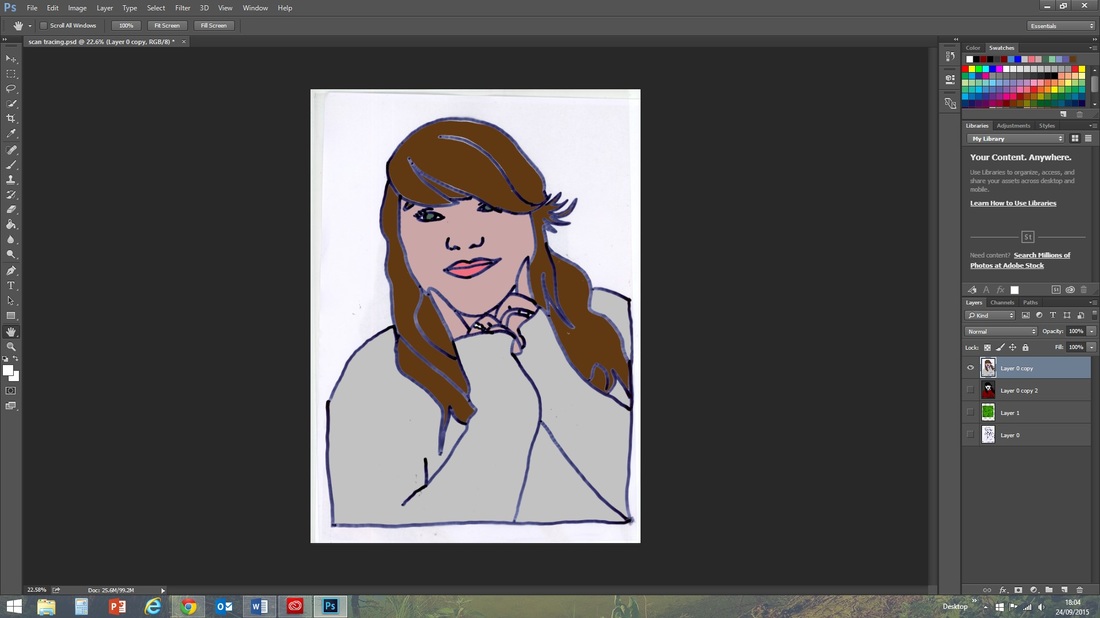
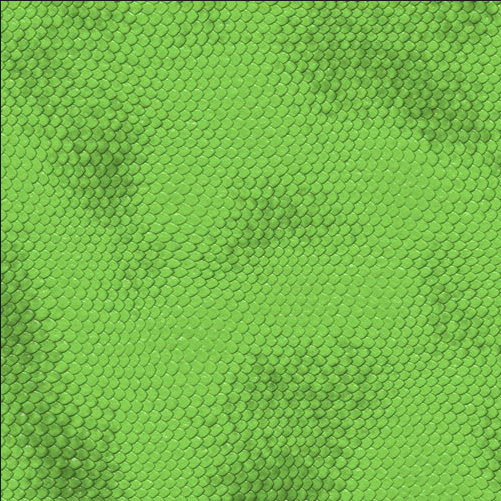
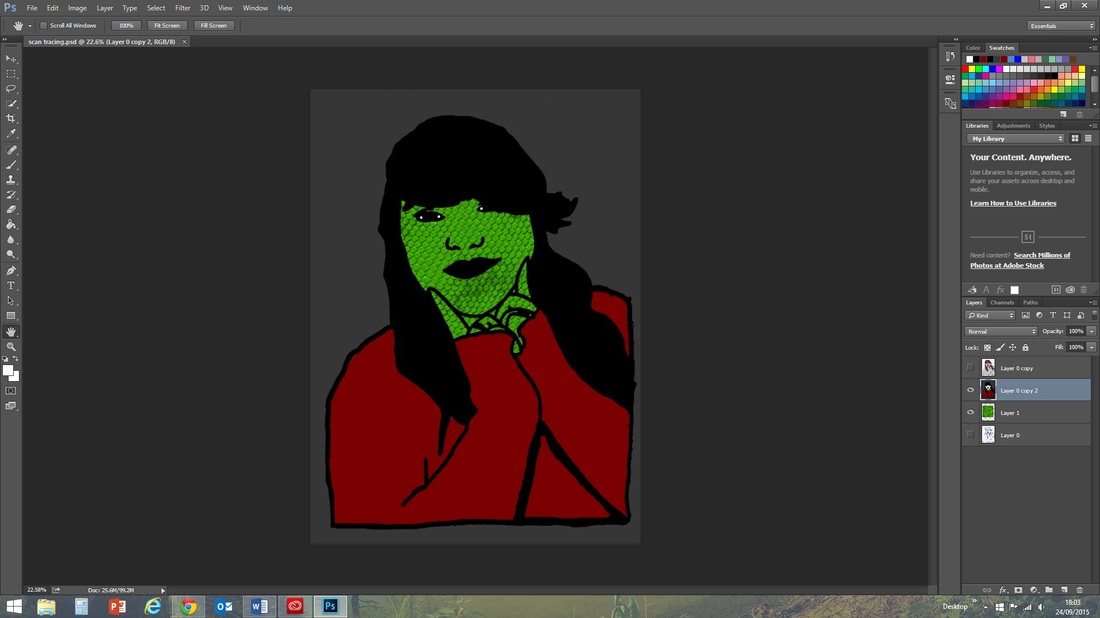
On one of my portraits I was able to create scales by copying an image into a new layer and then removing the background on one of my portrait layers where my own skin would be.
For this portrait I also selected and filled the entire background. After filling the background the lines made by the fine liner showed through, so I went over them with the magic wand selection and filled them with black (some of the more fiddly bits required the brush tool).
For this portrait I also selected and filled the entire background. After filling the background the lines made by the fine liner showed through, so I went over them with the magic wand selection and filled them with black (some of the more fiddly bits required the brush tool).
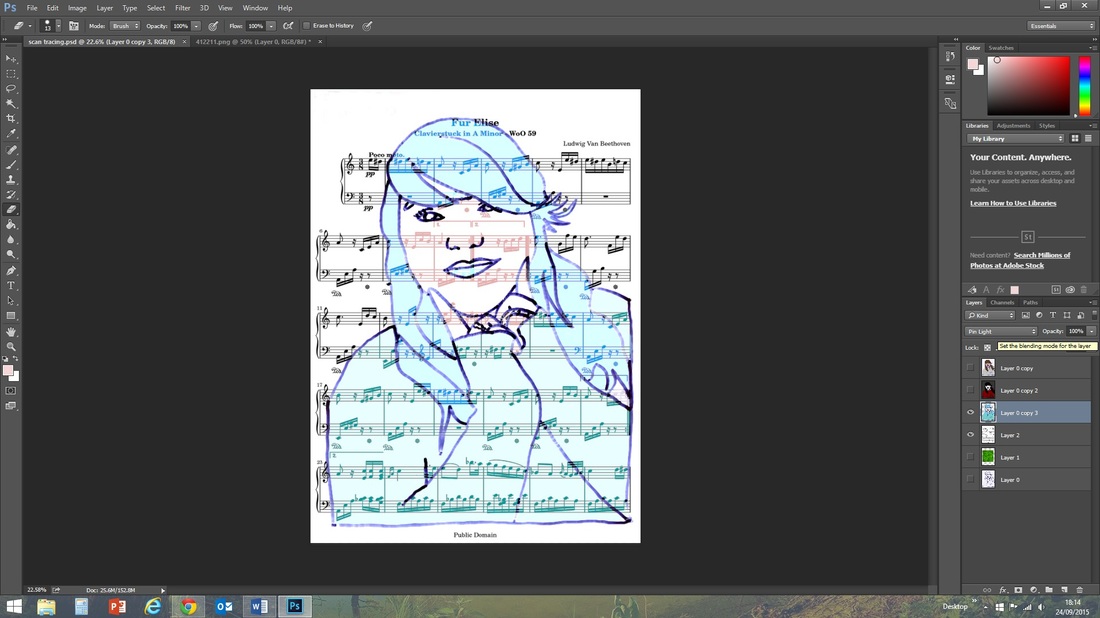
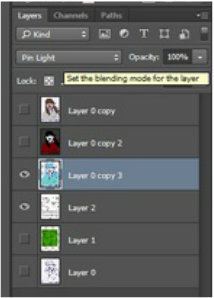
On my final portrait layer,I changed the background, using the image of piano sheet music. I then played with the blending mode for the portrait layer. I used Pin Light to create a transparent effect allowing the background to show through with a colour wash in segments of my portrait.
 RSS Feed
