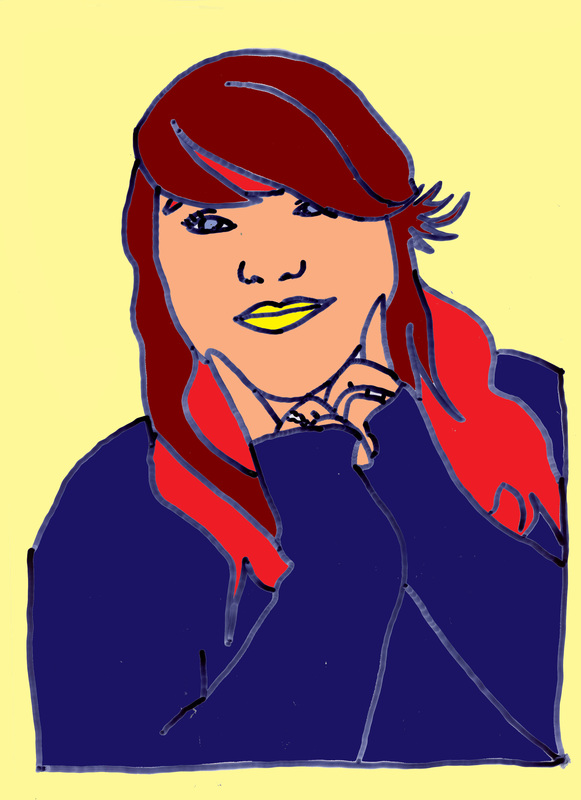
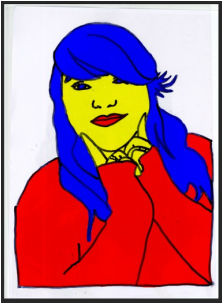
For task 2, I created a colour portrait in Photoshop (again using primary colours only), but this time I edited by directly using the photo taken by the digital camera not the traced image from the past task.
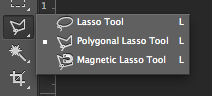
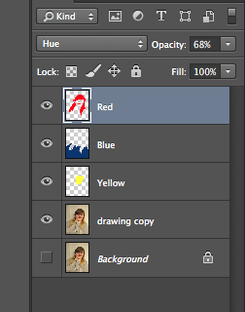
The key to this task is the use of multiple layers, the Polygonal selection tool and changing the blending mode of the layers.
The key to this task is the use of multiple layers, the Polygonal selection tool and changing the blending mode of the layers.
 |  |
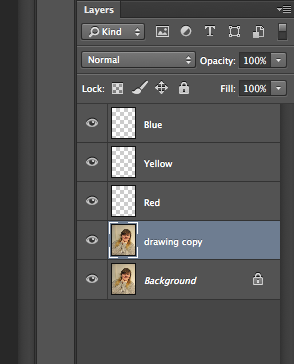
To begin this task I opened up the file on Photoshop and duplicated the background layer. Then I created three separate blank layers and titled them according to the colour I would place on each.
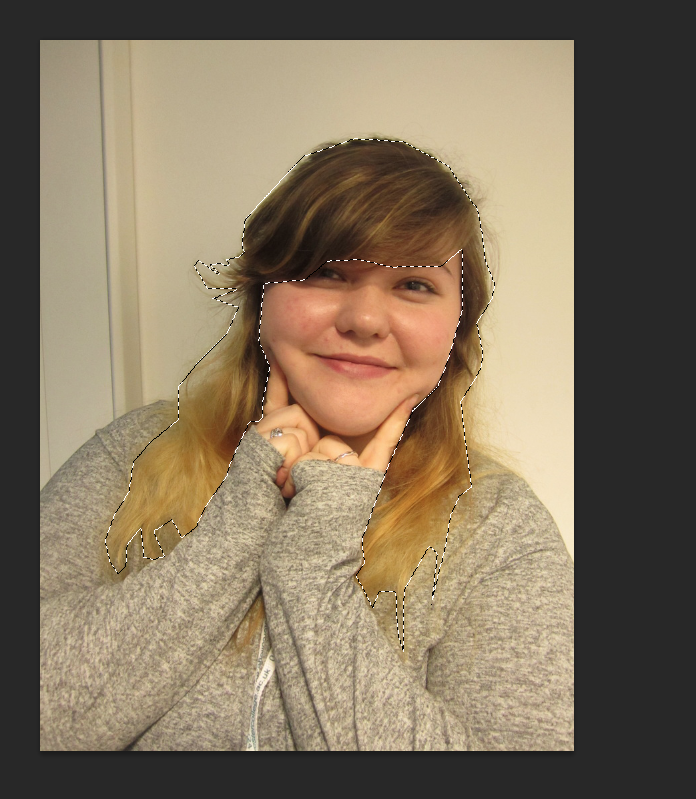
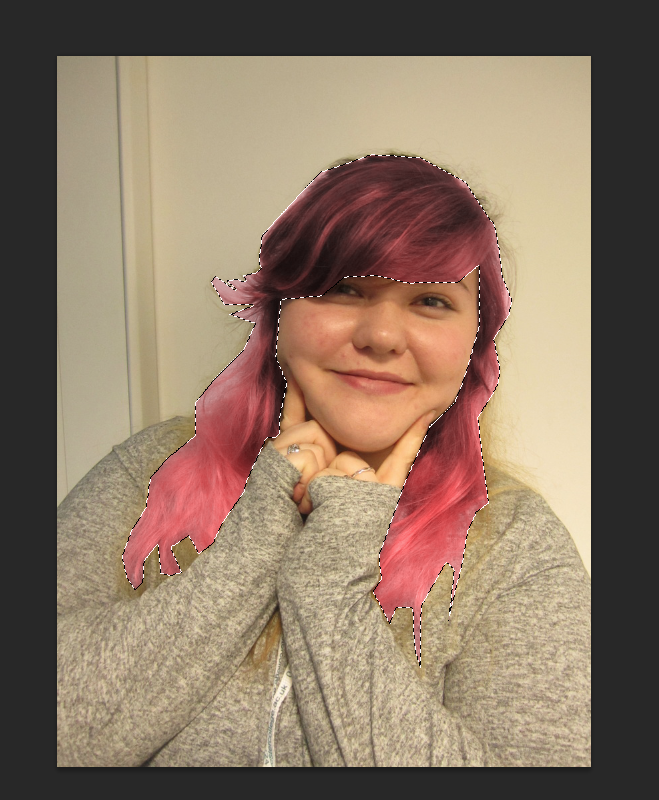
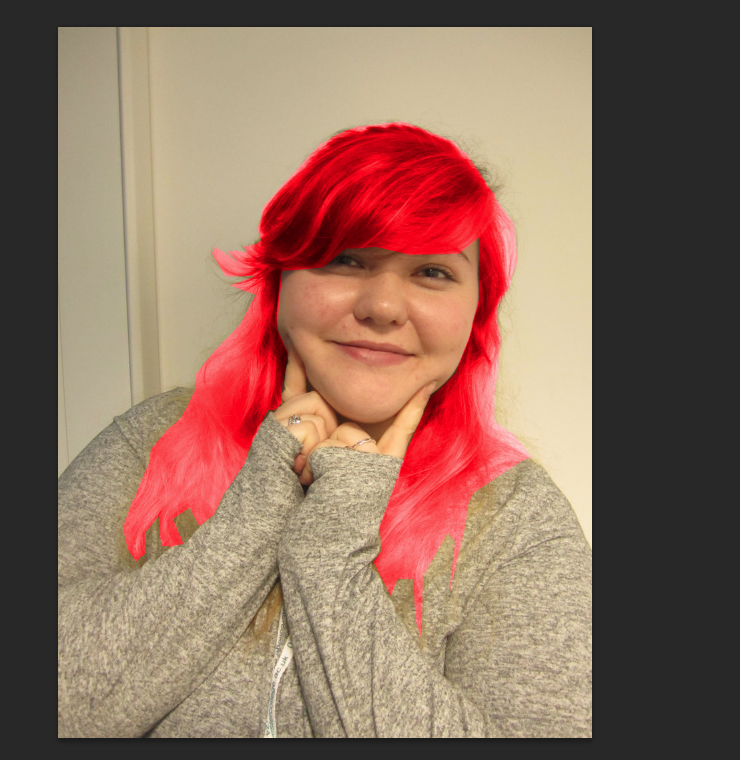
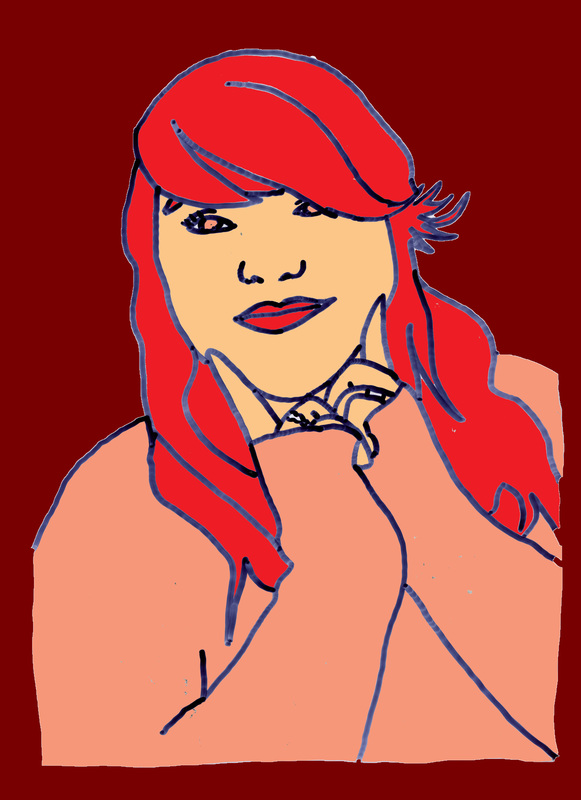
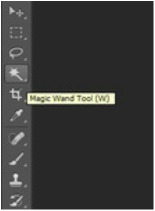
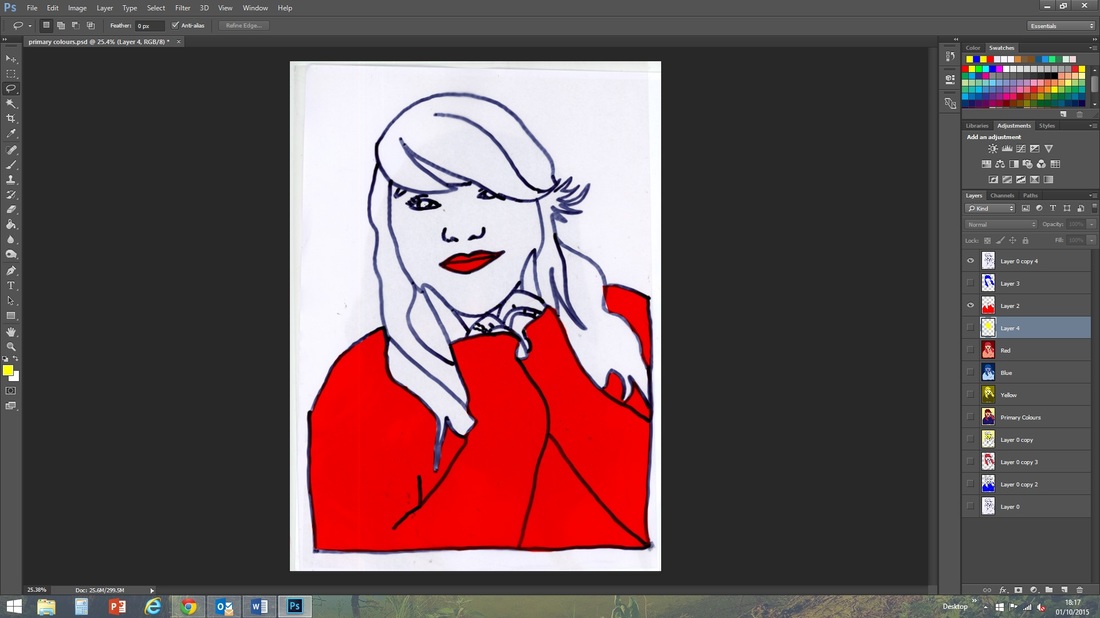
At this point, whilst selected on the drawing copy layer, I began to use the Polygonal Tool to select areas of the photo for editing. I began by selecting my hair and lips which I had decided would be red.
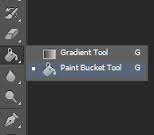
After selecting all of my hair I then clicked onto my layer titled Red and used the Paint Bucket Tool to fill the selected area.
After selecting all of my hair I then clicked onto my layer titled Red and used the Paint Bucket Tool to fill the selected area.
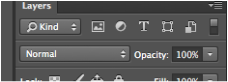
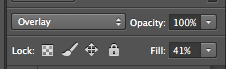
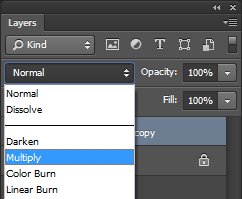
 Once I had filled in the selected area on the red layer, I played around with the blending modes of the layer to change the colour from a block fill to something more subtle and allowing features to still show through. | 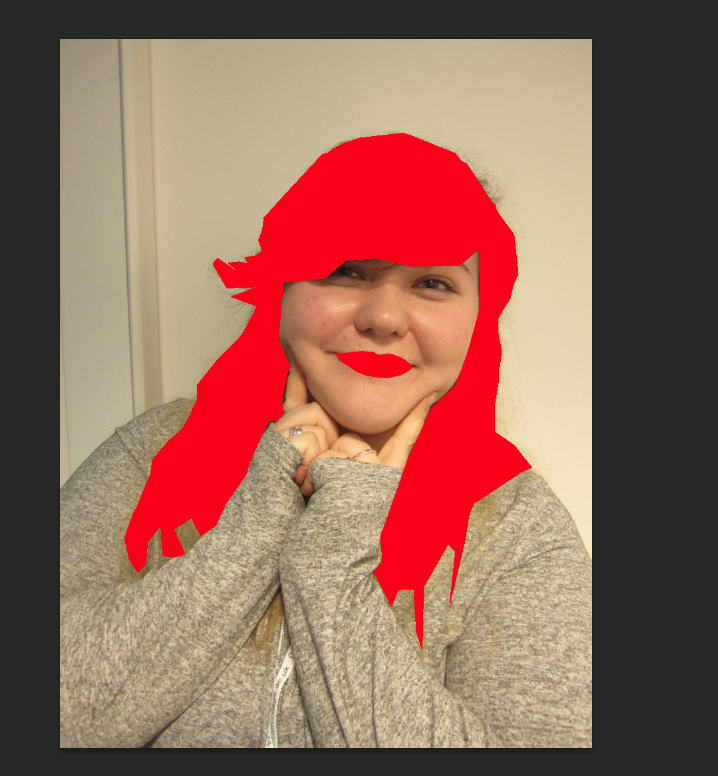 |
For this image I decided that Hue was the best blending mode as it gave a more subtle effect to the colour with the addition of editing the Opacity and Fill of the Layer.
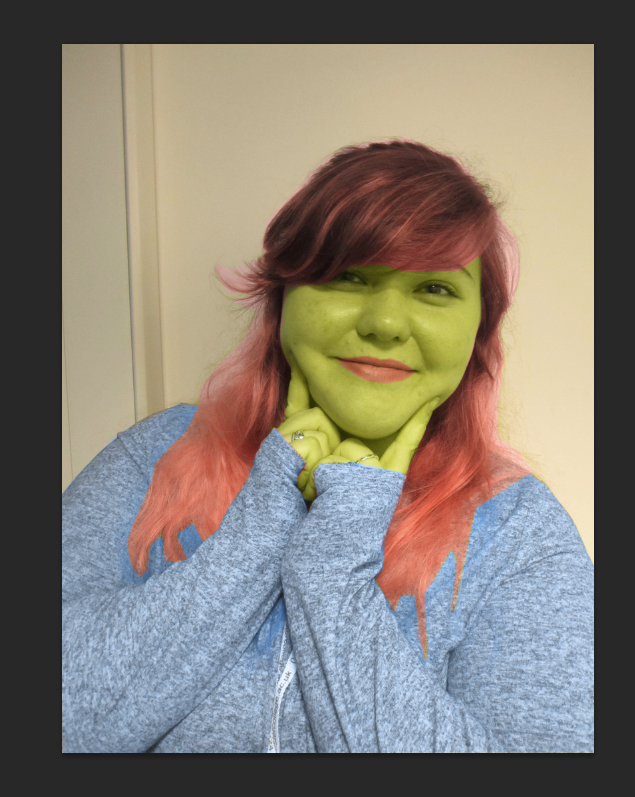
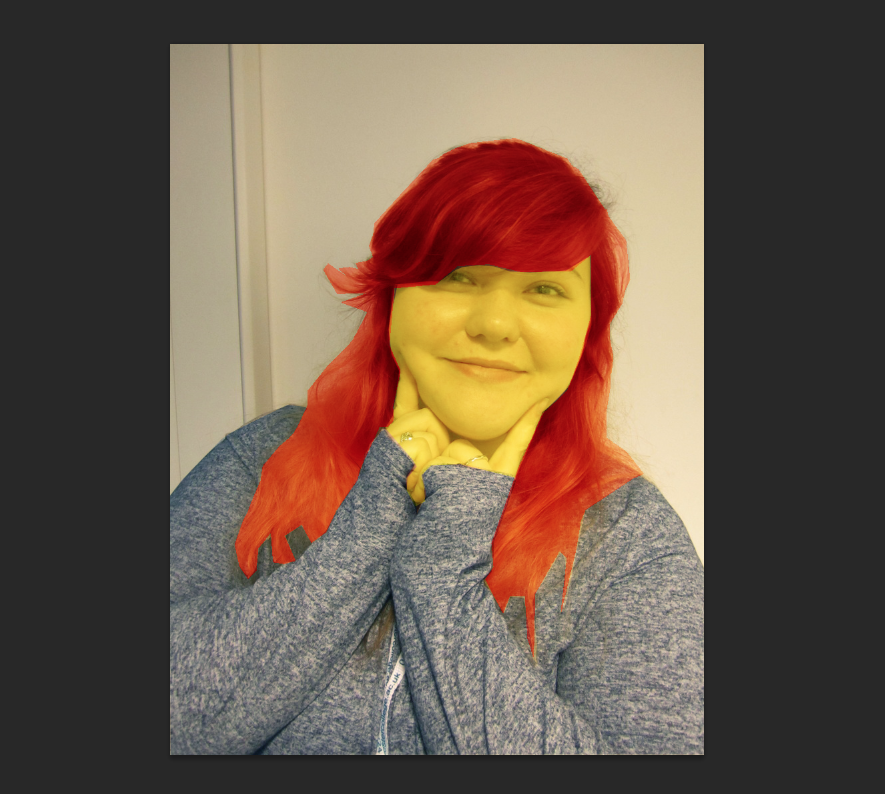
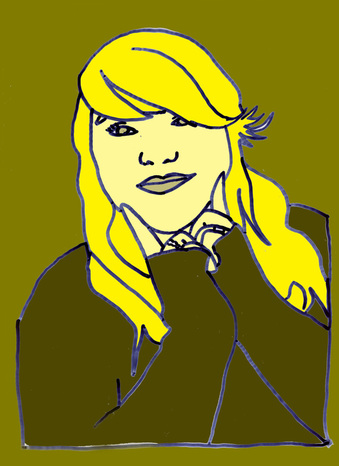
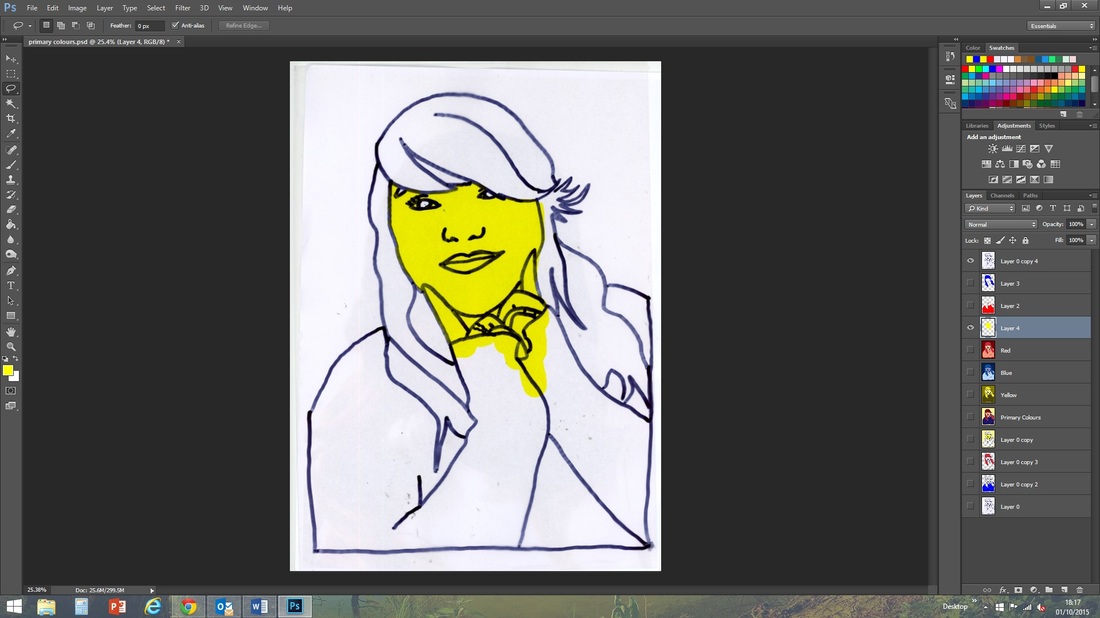
Moving on to the next primary colour, yellow, I went back to my layer titled Drawing Copy and then selected with the Polygonal Tool all the areas of my skin. Once this was selected, I moved to the yellow layer and filled the selected area with the Paint Bucket Tool and changed the blend mode to Hue.
Moving on to the next primary colour, yellow, I went back to my layer titled Drawing Copy and then selected with the Polygonal Tool all the areas of my skin. Once this was selected, I moved to the yellow layer and filled the selected area with the Paint Bucket Tool and changed the blend mode to Hue.
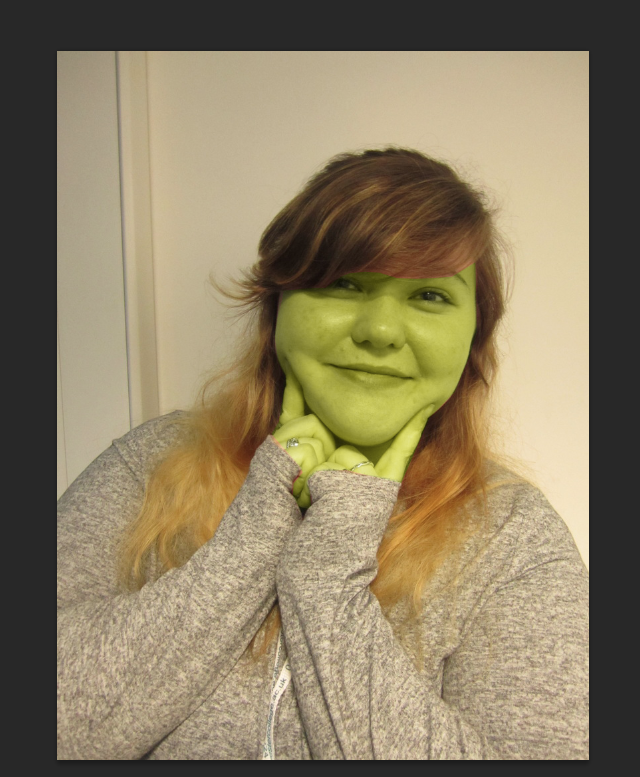
Then viewing the the three layers altogether (Drawing Copy, Red and Yellow) I could see how effective the result was.
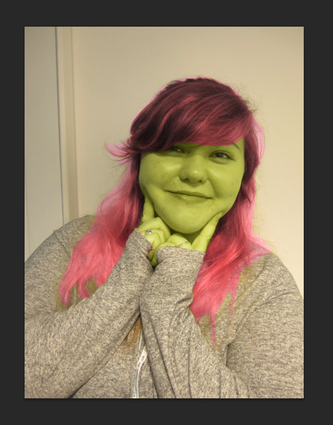
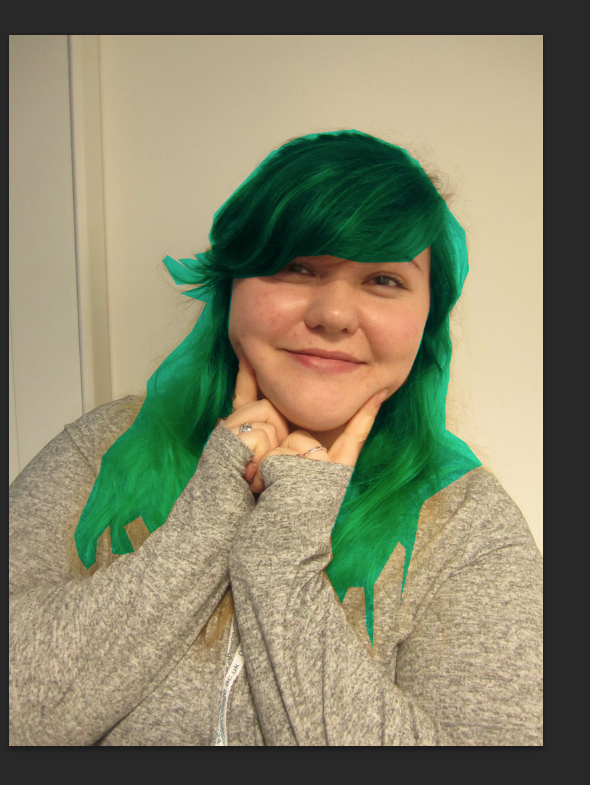
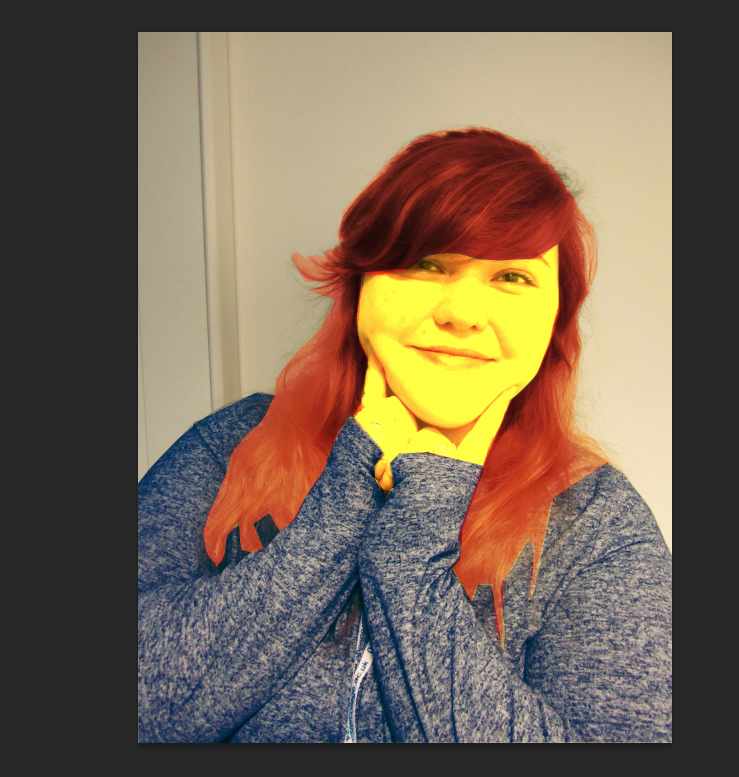
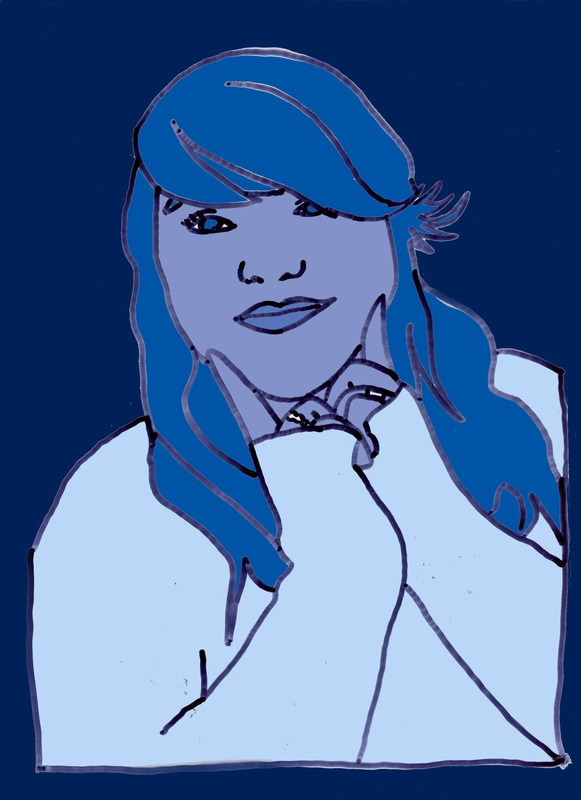
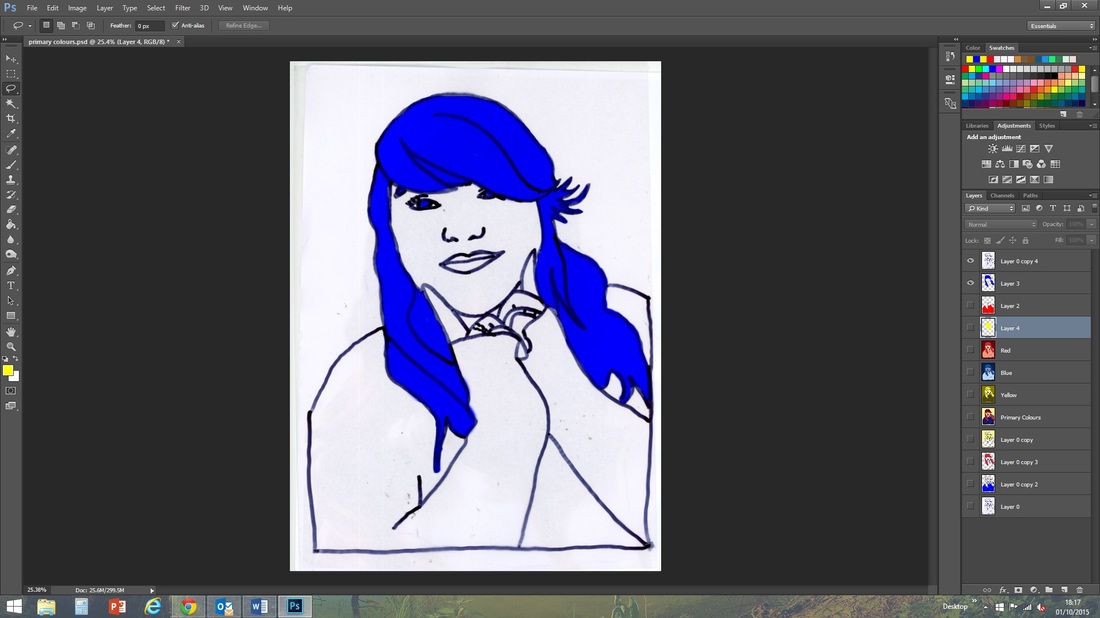
All I had left to do now was edit the last layer (Blue). Again I made my Polygonal selection on the Drawing Copy layer and then moved to my desired layer to fill and edit the blend mode to hue.
All I had left to do now was edit the last layer (Blue). Again I made my Polygonal selection on the Drawing Copy layer and then moved to my desired layer to fill and edit the blend mode to hue.
At the end I was left with several layers each filled with one particular colour and a nicely coloured image.
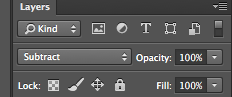
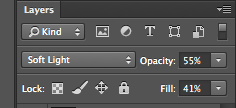
| I also played with other blend modes such as overlay, subtract and soft light to see what other effects appeared on the image and how editing the opacity and fill percentages effected the piece. | |


 RSS Feed
